


I think people are under the impression that they need the BIG DADDY Photoshop in order to do anything with their photos. NOT TRUE. The last few barn type pictures I have posted have textures added in photoshop elements. Textures are different than actions. You are basically just adding a photo on top of your photo and blending them. My goal was to write this tutorial in 20 minutes! So please excuse the end result. I actually didn't really like the texture I chose once it was added but had already saved all the screen shots so we'll use it for learning purposes only! There...that is my disclaimer.
Step 1-
First you should have a file of texture photos that you like. Flickr has amazing free textures and I have found most of mine there. I just save them in a file named "texture" in my pictures. (I told you this would be step by step...hey..I like things BASIC!) For this tutorial I used a texture by Boccaccino from flickr. Just go to flickr and download the large size file to your pictures.
Step 2-
Open a picture in elements. You can either open up Elements, go to File and click open. Or you can just go to your picture and right click on it and choose Open With Photoshop Elements. I always work on a duplicate copy. Just go up to file and choose duplicate.
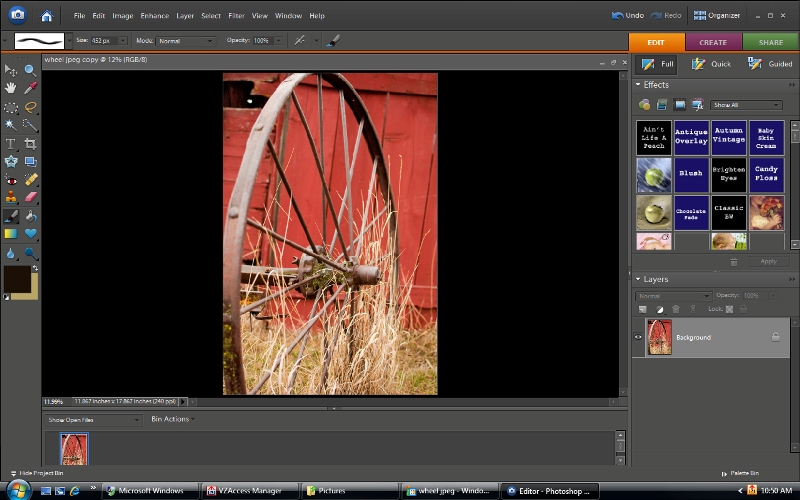
O.K., see up in the little box under layers you can see a thumbnail of your picture. Now we are going to go and get our texture layer.
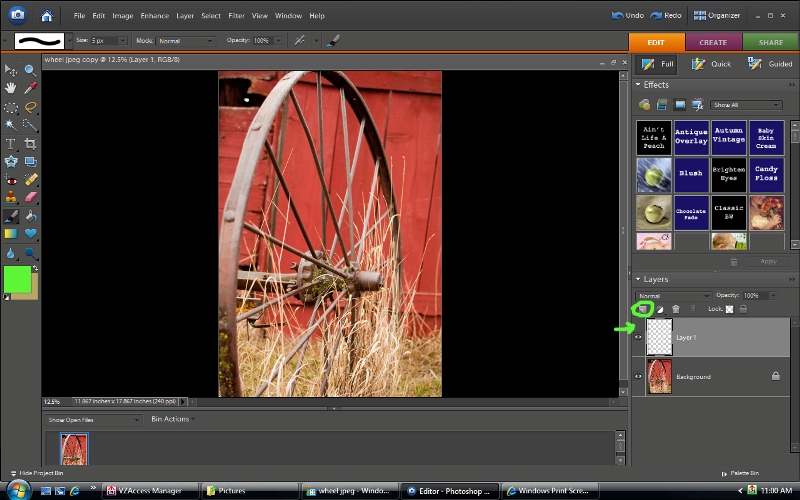
So, there are different ways to do this but this is how I do it! See the circled icon above? Click it and it will open up a new blank layer.
Now go back up to File and select OPEN. And choose your texture.
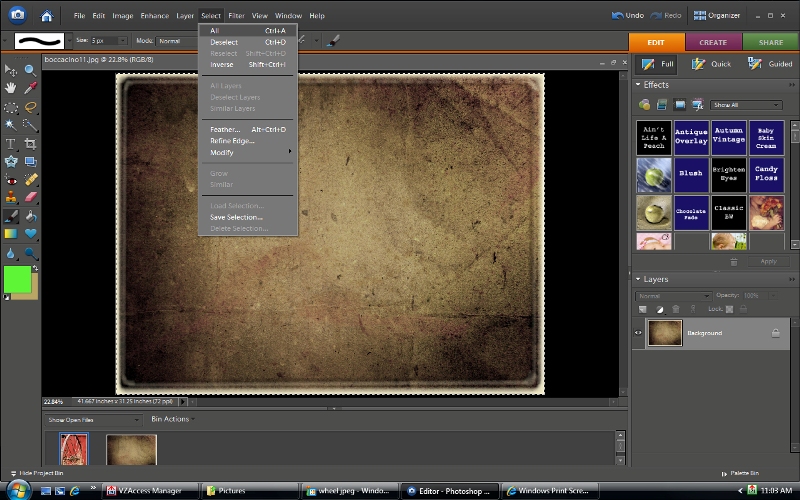
This is what your screen will look like. You want to SELECT this picture and essentially you are going to copy and paste it to your initial picture. So you could either use CTRL -A or go up to Select and click All. Now you will see little marching ants around your photo.
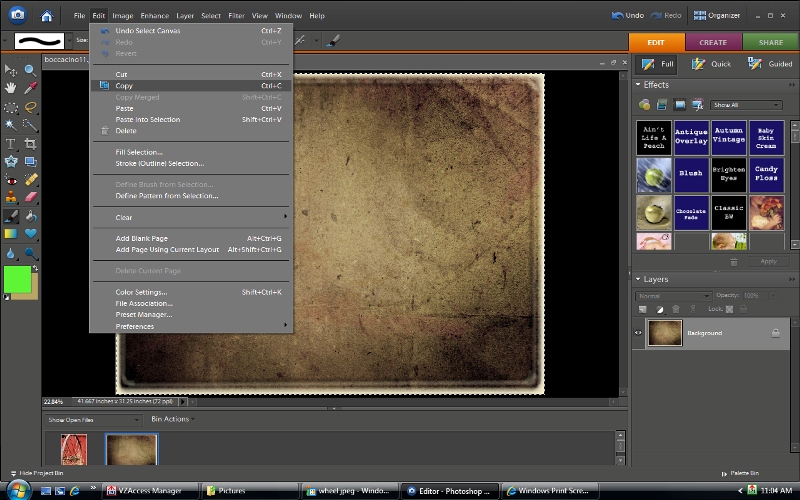
Now either use CTRL-C or go up to edit and click COPY. I told you this was going to be,literally, STEP BY STEP! Now, once that is copied. I usually just close it by clicking on the little x to the right of your texture picture. When you do that your background picture will re-appear.
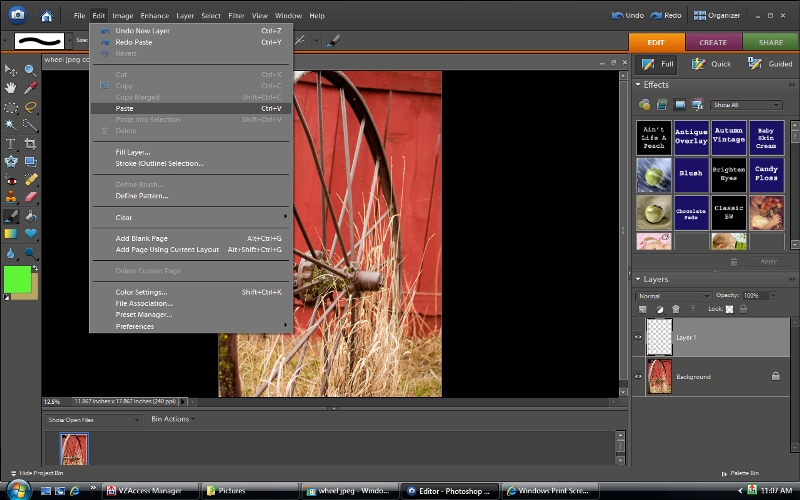
Click CTRL-V or choose edit and click PASTE. Now that texture will be pasted in that blank layer above your background layer.
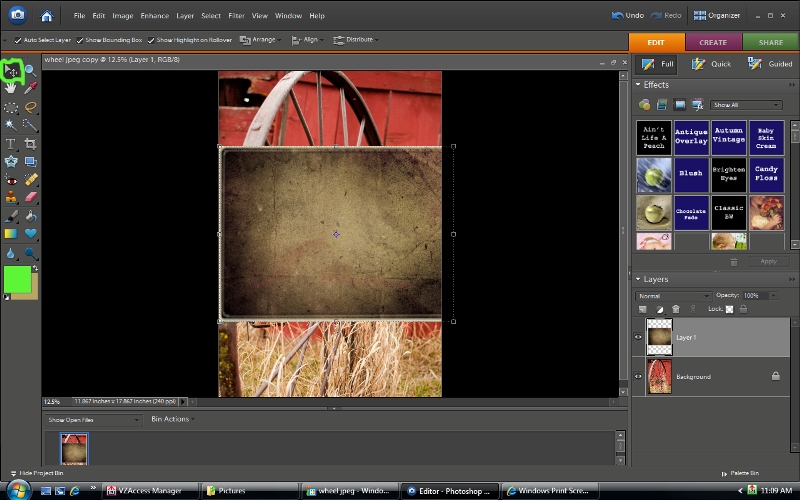
This is what it will look like initially. Lovely, huh! How do we move it or get it to cover the picture. Go up and select the "free transform/move tool" it's the one circled in green. Now you will see those little dots and squares around the texture. Go ahead and hover over those little squares and arrows will appear. Drag them around until your texture is on top of your picture.

Once it is in place you will see a green check mark down in the corner of the selection and click on that (not shown here). Your texture will be added on top of your background. See the Layers palette above? It shows that your background (wheel) is on the bottom and your texture is on the top!! Yay, that is what we want. But why can't we see the Wheel. Because we haven't changed the BLENDING mode yet. So make sure the texture layer palette is highlighted (by clicking on it) See the green arrow above. It is currently set to Normal. If you click that, a box will drop down and you will see a plethora of blending modes. Each one does something different. Play and see which looks best.
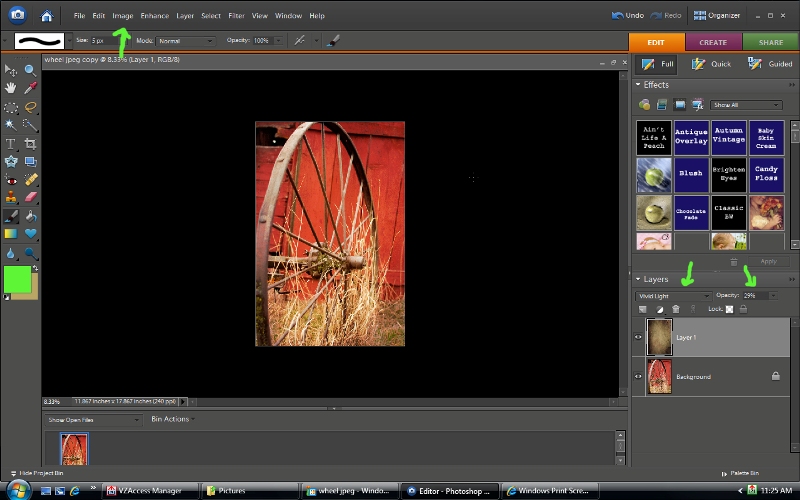
I changed this Blending mode to Vivid Light (first arrow) and changed the opacity (second green arrow) to 29%. (Why 29% you ask, because that is the age I feel like I am!) You will find that in a lot of the modes 100% opacity will just be way over the top. Unless you want a picture of some funky, psychedelic barn wheel! To each his own. But in my opinion, less is more baby!
Now you are finished...go up to Image and click FLATTEN. Otherwise it will be saved in a layered PSD file. (Which isn't bad if you are not done editing it yet) But for printing purpose, we like FLAT files!! I usually save as a jpeg.
One more tip. I often right click on the texture layer and select duplicate. Then I have two layers of texture and you can set them to different blending options. Or go get another texture and add it on top! I think the barn photo has at least 2 textures applied. The sky is the limit. It's so fun to play!! If you are familiar with layer masks. You could also add a layer mask to your texture and then paint on that layer mask with a soft black low opacity brush to paint out areas of texture that are too heavy. When I say paint out...I mean allow some of the underneath picture to come through. But Layer Masks is another tutorial. If you have Elements you can download a free "layer mask" action from Rita at the Coffeeshop. I know that Elements 6 didn't come with layer masks but I'm not sure about 7 or 8.
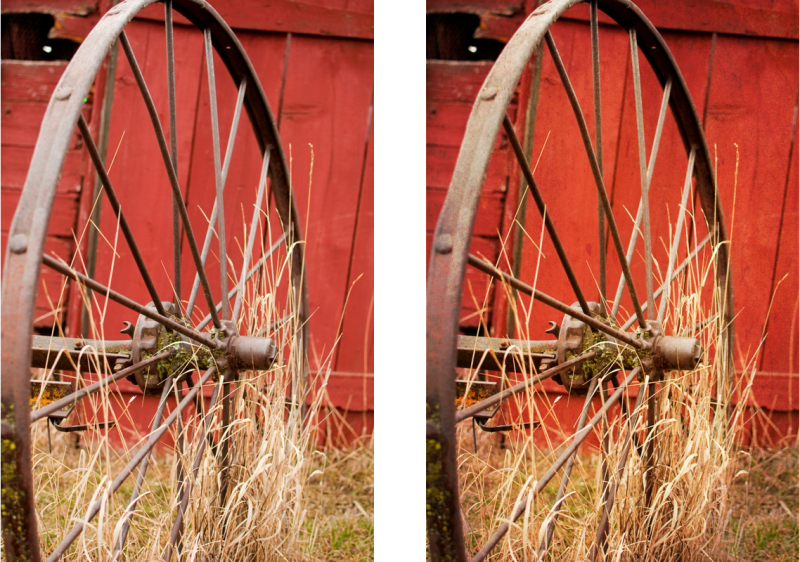
Here is the before and after. Yay....we definitely succeeded at grunging up the photo. Not my favorite edit but you get the idea!!
Shadow House creations has some amazing free textures.
One knows that one is "sick" when one has as many textures as they do photos!!


5 comments:
Awesome! I really hope that this isn't your last tutorial though ;)
Great tutorial!! Thanks for sharing!! I've been wondering how you do that!! Thanks!
Thank you ! Thank you! Tomorrow I am going to try it!
Eileen..I did this just for you ;)!!
I've played with texture a good bit in scrapbooking, but want to incorporate them into the photos a little more. Thanks for the tutorial!
Post a Comment